In about ten minutes you'll know whether your thermometer reads true. If it doesn't, you'll have fixed it or worked out the number to correct for. All you need is a glass, ice and water. The one thing to know before you start is that the test depends on the slush, so pack the glass with ice before any water goes in.

What you need

  • A large, tall glass

    Deep enough to take at least 2 inches of probe without the tip touching the bottom.

  • Ice, crushed if you have it

    The USDA fact sheet asks for finely crushed ice rather than just cubes. Cubes will do if you pack them tight.

  • Cold tap water

    Ordinary drinking water is what the USDA uses for this test.

  • Pliers or a small wrench

    Only for a dial thermometer with an adjusting nut under the head.

  • The manual

    Only for a digital model, to find out whether it has a calibration setting.

The ice-water check, step by step

  1. Pack the glass to the top with ice

    You should see a solid column of ice with no big gaps.

  2. Pour cold water up to the top of the ice

    The ice should still fill the glass and not float in a pool of water. University of Georgia Extension says at least half the glass should be ice.

  3. Stir well

    Stir until the outside of the glass is beaded and cold to the touch.

  4. Lower the probe at least 2 inches into the slush

    Keep the tip clear of the sides and the bottom. The USDA suggests threading the stem through the clip on its sheath and resting the sheath across the rim, so you don't have to hold it.

  5. Wait until the number stops moving

    A digital probe needs at least 30 seconds. A dial can take 1 to 2 minutes, according to SDSU Extension. Georgia's extension service is stricter: it waits 5 to 10 minutes and wants the reading steady for a full 3 before trusting it. For an old dial you have doubts about, the slow version is worth the time.

  6. Read it with the probe still in the water

    A correct thermometer shows 32°F (0°C). Sources disagree on how close counts as close enough. A food-safety software firm, FoodDocs, allows ±1°F, and a chef writing for Parkview Health allows ±2°F. I'd treat anything outside 1°F as worth correcting.

Correcting a thermometer that reads off

A dial thermometer, such as the Taylor Classic Instant Read Thermometer, usually has a nut under the dial head. Leave the stem in the ice water, grip the nut with pliers and turn the head until the needle sits on 32°F.

A digital thermometer often can't be adjusted. SDSU notes that most have no mechanical adjustment. In that case the USDA's advice is to note the offset and allow for it every time you cook, or to replace the thermometer. Some digital models do have a calibration setting or a reset button. The ThermoPro TP19H and Lavatools Javelin PRO Duo are two that may. The sources behind this page don't give the button sequence for either, so follow the manual.

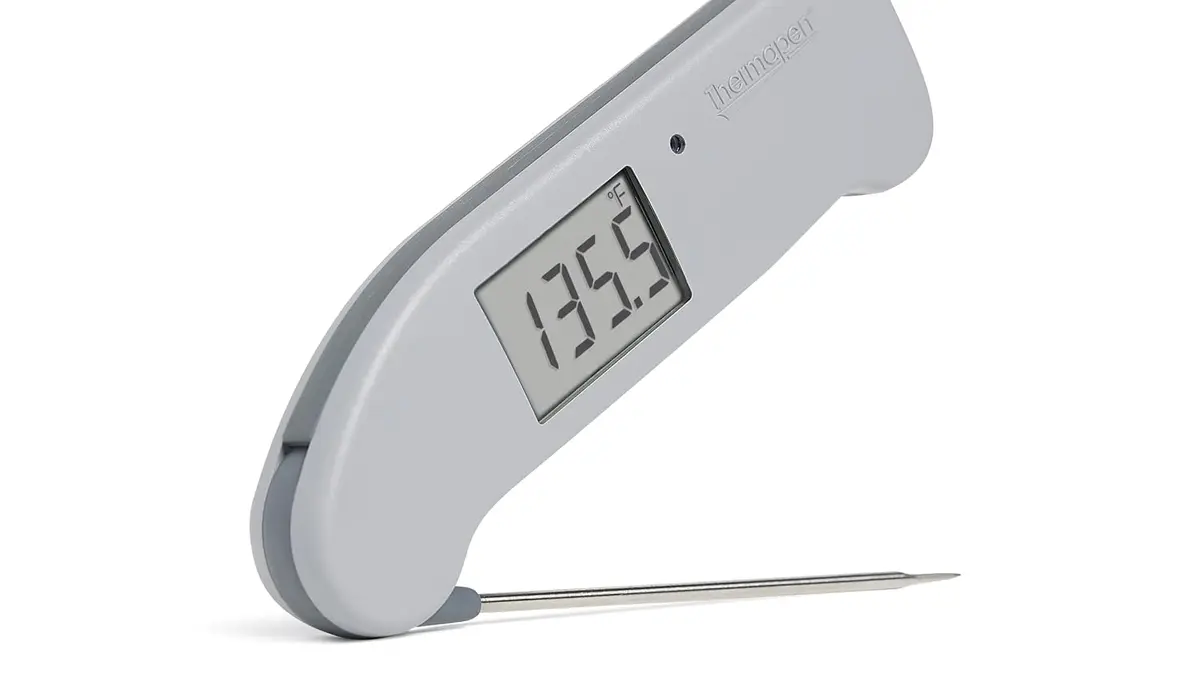
The premium units are built not to need adjusting. Food Network notes that the ThermoWorks ThermoPop 2 ships with an NIST-traceable calibration certificate based on actual test data. CNN Underscored found the ThermoWorks Thermapen ONE accurate to a tenth of a degree against a sous vide reference. You should still check them, because a factory certificate only tells you how accurate the thermometer was when it left the factory.
Working with an offset

Say your digital thermometer reads 34°F in the ice water and has no way to adjust it. It is reading 2 degrees high. Chicken needs 165°F, the USDA poultry figure cited by Parkview Health.

Ice-water reading34°F
Correct reading32°F
Offset+2°F (reads high)
Target for chicken165°F
Pull the chicken when the display shows167°F

Write the offset on a piece of tape on the handle. If you rely on memory, you'll get it wrong when you're tired.

4.6 (1,416 reviews)
$125.00
4.6 (1,167 reviews)
$47.00
4.7 (56,467 reviews)
$19.99

Why boiling water is the worse test

The method is the same as the ice-water check: a full rolling boil, at least 2 inches of stem in the water and 30 seconds of waiting. At sea level the target is 212°F. The trouble is that water only boils at exactly 212°F under ideal conditions. The USDA fact sheet says a true 212°F needs distilled water at exactly one atmosphere of pressure. In ordinary tap water under ordinary conditions, a correct thermometer will usually read 2 to 5°F low. Water also boils at a lower temperature the higher you live, so the USDA tells cooks at altitude to ask their local Cooperative Extension Service for the right figure.

The best argument for boiling water is that it checks the thermometer near cooking temperatures, and FoodDocs prefers it for that reason. That is fair in a commercial kitchen with a reference thermometer clamped beside the one being tested. At home, you would be calibrating against a number you don't actually know, and an error of 2 to 5 degrees is larger than the error you're trying to catch.

The ice method is a much easier process to manage than boiling water and very accurate no matter where you live.

Elizabeth Andress
Food safety specialist, University of Georgia Extension

How often to bother

None of the sources gives a fixed schedule. The USDA says to check thermometers periodically, and the Champaign-Urbana Public Health District says regularly. Georgia's extension service ties the check to holiday cooking. A sensible routine is to check a thermometer when it's new, before any big cook, and whenever a reading surprises you.

If it did not work

There isn't enough ice. Once the ice melts down, the water in the glass warms. Add more ice until at least half the glass is ice, stir, and test again.

The tip is probably touching the glass. Lift it clear of the sides and bottom, and use the sheath clip so your hand isn't moving it.

If it won't hold its setting, the USDA's other option applies: replace it. A thermometer you have to recheck before every chicken isn't doing its job. Our pillar guide to instant-read thermometers covers which ones to buy.

Your thermometer now reads true, or you know exactly how far off it is. That makes temperature targets worth trusting, starting with the USDA's 145°F and a rest for thick pork chops.

Ready to put it in a pork chop?

Cook thick supermarket chops in a skillet so they hit 145°F and stay juicy.

Read the pork chop guide